I love baking breads.
But my first breads were like stones. They could be used by our police force for stunning the bad elements in our society. Nevertheless, I passed it off as 'this is exactly what this bread should be like'. I was fortunate enough to be surrounded by people who just let it be and quietly ate the hard tooth-breakers by dipping them into their soups to soften them.
But I never gave up.
And then one day my favourite uncle (my mom's sister's husband) visited me and baked these beautiful tiny bread buns in a jiffy. I watched him and decided then that I would teach myself to bake as well as him and quietly after he left continued to make good, bad and ugly breads till I finally became quite good at it and am now proud of my creations.
This recipe that I am going to share reminds me of my earlier breads but this one is intentionally crisp as I wanted to have something light and crunchy and baked, as a starter for one of my dinner parties. I cut them into bite sized pieces before baking.
 |
| sesame bread crisps |
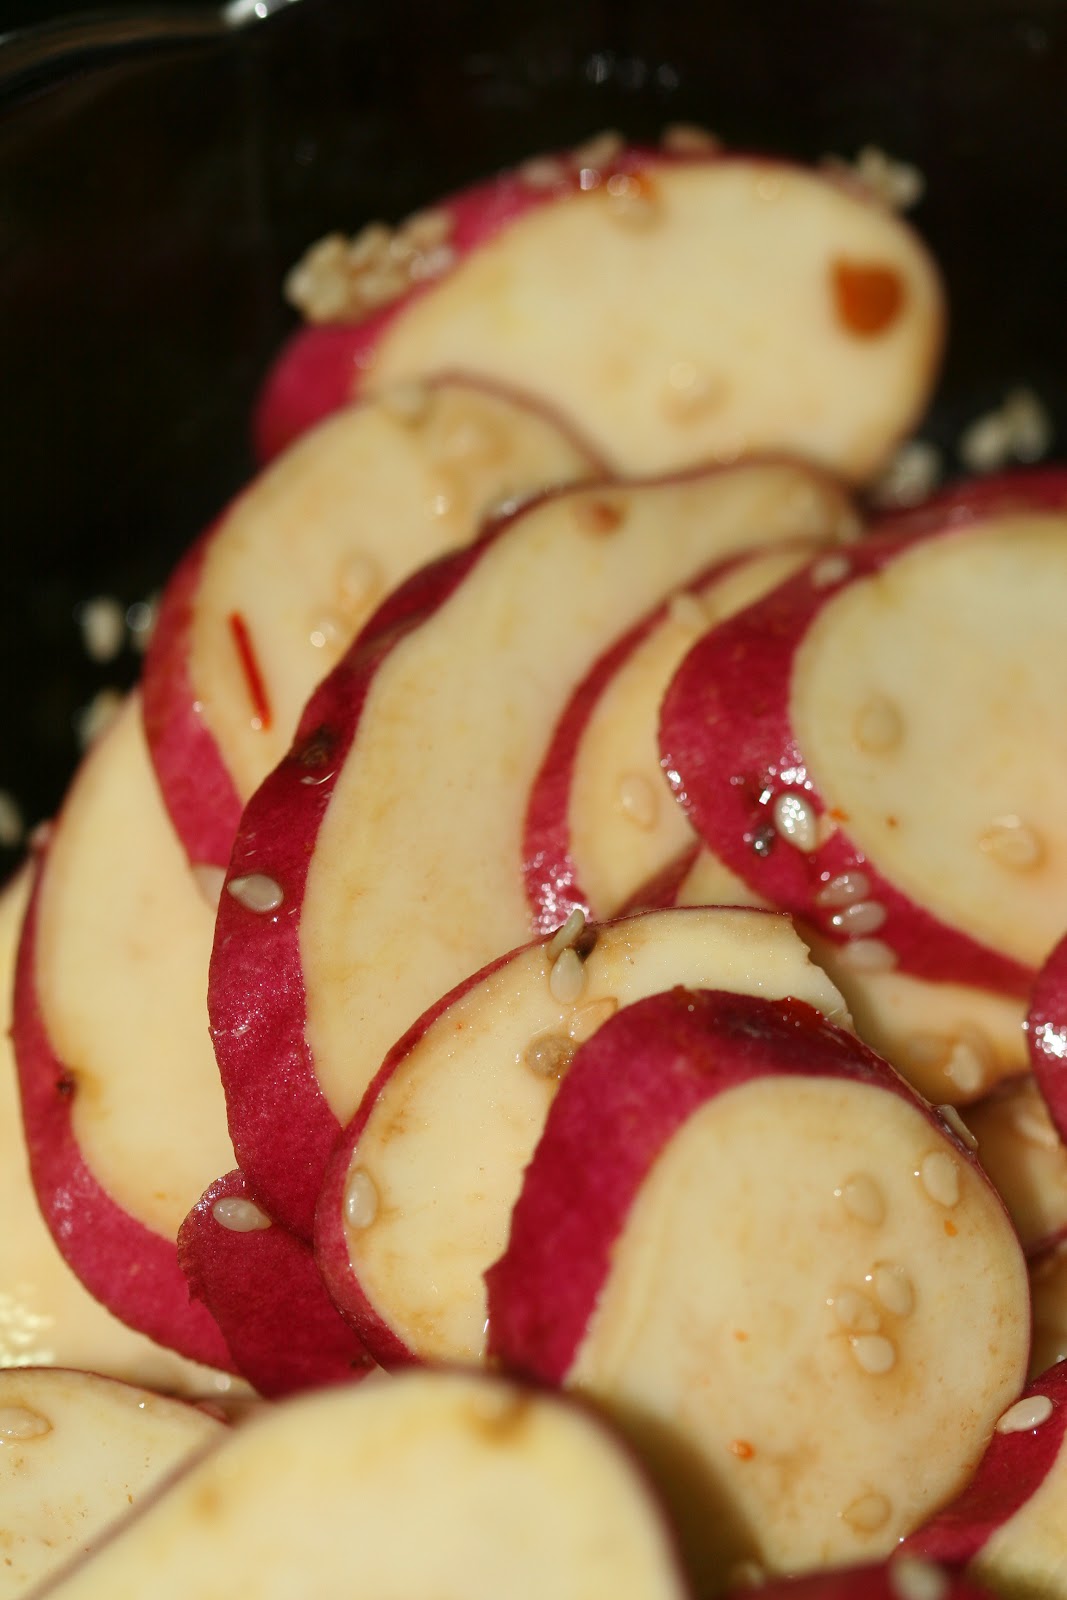
SESAME BREAD CRISPS
Ingredients:
.Instant yeast......................2 tsp.
.Bread flour/strong flour......250 gm.
.Semolina............................250 gm.
.Sesame seeds.....................4 Tbsp.
.Flax seed powder...............1 1/2 Tbsp.
.Black pepper powder..........1 tsp.
.Dried mint leaves.................2 tsp.
.Salt.....................................1 1/2 tsp
.Olive oil..............................125 ml.
.Water.................................175 ml.
For the glaze
.Milk....................................approximately 4 Tbsp.
or
.Egg......................................1
.Water..................................1 Tbsp.
Method:
.Sieve together semolina and bread flour in a large bowl.
.Add the instant yeast, sesame seeds, flax seed powder, black pepper powder and mint.
.Mix well.
.Add salt.
.Mix together olive oil and water.
.Add the liquid ingredients slowly to the dry ingredients mixing all the time.
.Bring together all the dry ingredients and wet ingredients into a hard dough.
.Knead till the dough becomes smooth and elastic, about 10 minutes.
.Alternatively, you can knead in a dough maker or in a bread maker set to dough setting.
.If making in the dough maker take care to add the yeast in first.*
.Cover with a plastic wrap(in the bowl) and set aside in a warm, dark place for 1 1/2 to 2 hours (rising).*
.Knock back the air out of the dough.
.Divide into 4 equal pieces.
.Knead each piece well and set aside for 20 minutes( proving), covered with a plastic wrap.
.Knock back the air and knead again and roll out each piece into rectangular shapes 1 cm thick.
.Cut out diamond or square shapes of about 2 inches or cut long strips to make bread sticks.
.Place them on a greased baking tray.
.Cover with plastic wrap and set aside for 45 minutes.
.Preheat the oven to 200 degree C/425 degree F/Gas mark 7
.In a small bowl mix together egg and water and brush each piece with this egg wash.
.Alternatively brush with milk. I prefer to use milk to brush all my breads.
.Bake on the middle shelf for 20 minutes.
.Cool on a wire mesh.
.Store in a jar when completely cooled.
.Serve with a dip or dip in your evening tea.
 |
| sesame bread crisps |
*Yeast is killed when in direct contact with salt or sugar and rendered ineffective.
*The time required may increase or decrease depending on the outside temperature.
Always prove the bread dough in a well insulated area or away from draughts.